Brita filters are a popular choice for those who want to enjoy clean and refreshing water. However, over time, the filter indicator light will come on, indicating that it is time to replace the filter. Knowing how to replace the filter indicator is essential to ensure that the water you are drinking is clean and safe.
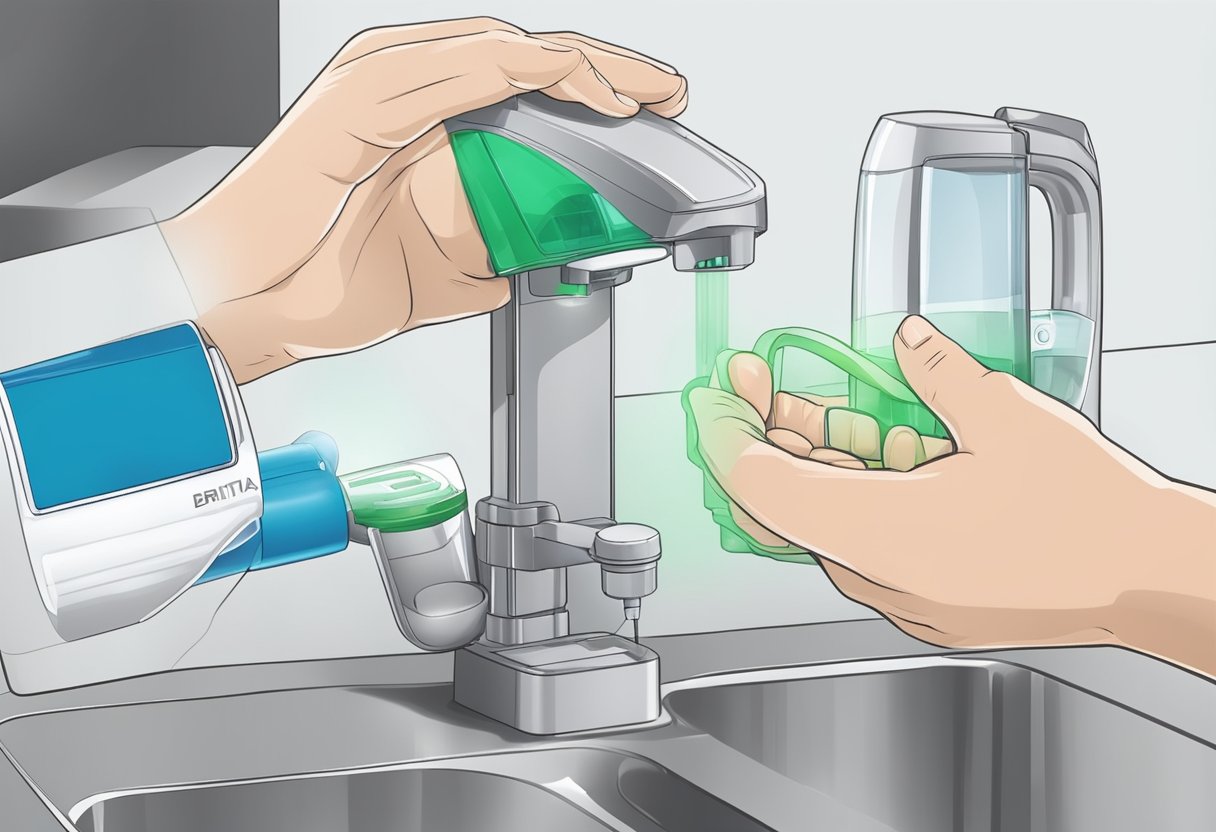
Replacing the Brita filter indicator is a simple process that can be done in just a few steps. First, locate the filter indicator on your Brita pitcher or dispenser. Next, remove the old filter and insert the new one. Finally, press and hold the reset button on the filter indicator until the light turns green. It is important to note that the filter indicator should be replaced every 40 gallons or every two months, whichever comes first.
Understanding Your Brita Filter Indicator
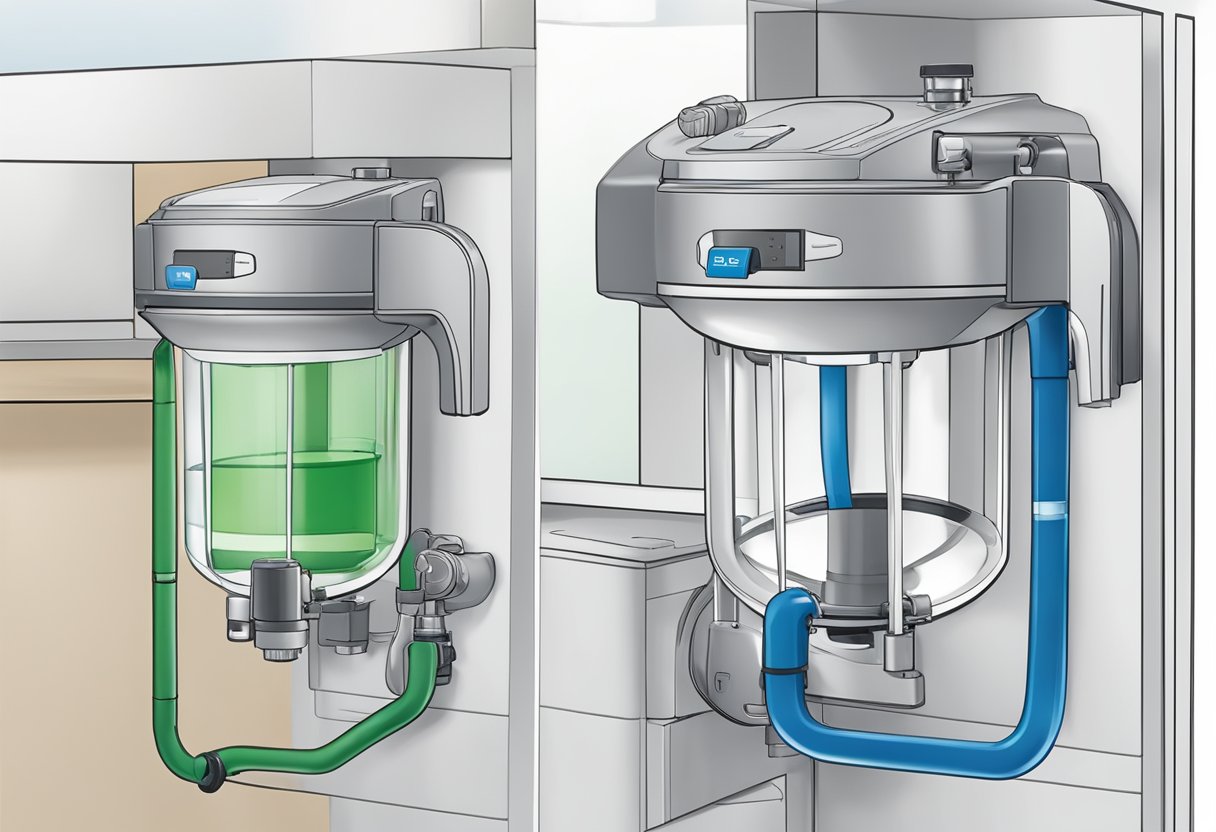
Types of Indicators
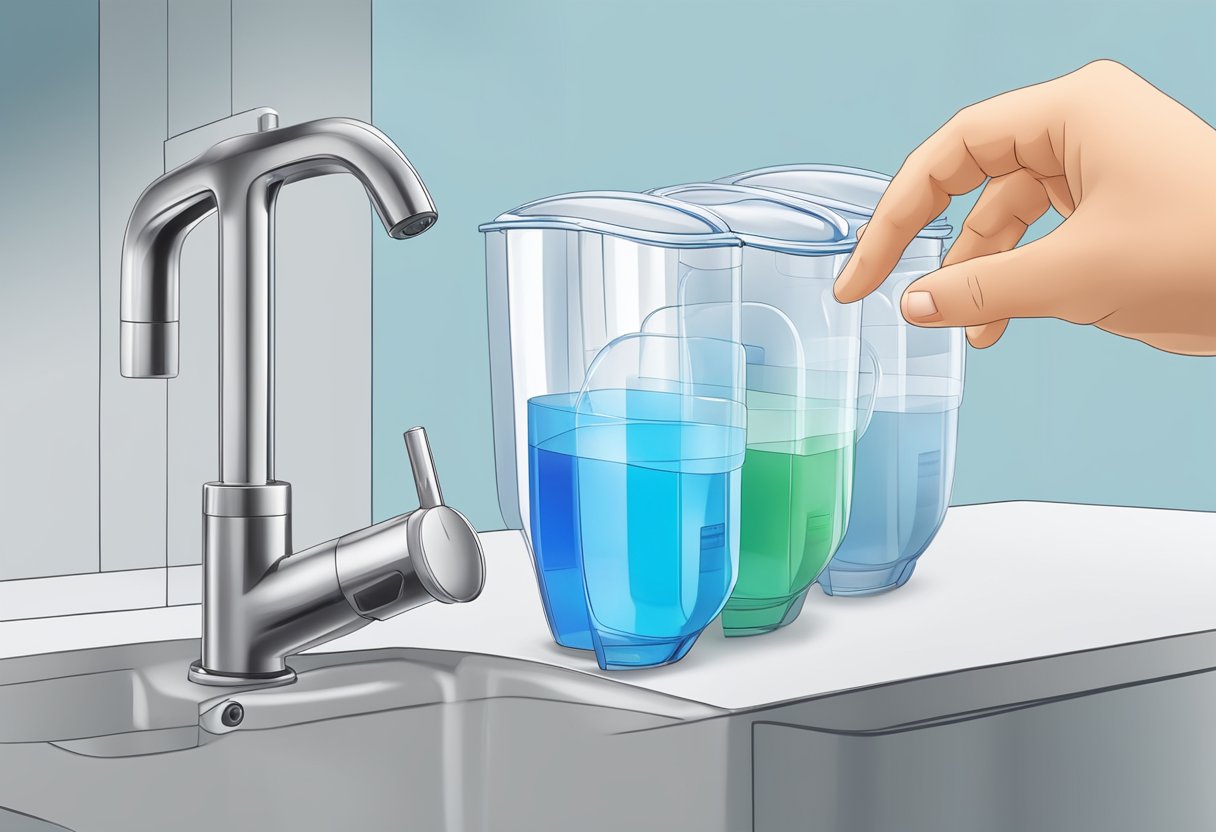
Brita filter pitchers come with different types of indicators to let you know when it’s time to replace the filter. The most common types of indicators are:
- Sticker Indicators: These are adhesive stickers that you place on your pitcher to keep track of when you need to replace the filter. They usually have a grid or a series of dots that you fill in as you use the filter. Once all the dots are filled in, it’s time to replace the filter.
- Electronic Indicators: These indicators are built into the pitcher and use sensors to measure how much water has passed through the filter. They usually have a light or a display that changes color or shows a message when it’s time to replace the filter.
Indicator Functionality
Regardless of the type of indicator, they all work in a similar way. They are designed to measure how much water has passed through the filter and to let you know when it’s time to replace it.
Sticker indicators are the simplest type of indicator, but they require you to remember to update them each time you use the pitcher. Electronic indicators are more convenient since they update automatically, but they require batteries and can be more expensive.
It’s important to note that the indicator is not a precise measurement of how much life is left in the filter. It’s just an estimate based on the amount of water that has passed through it. If you notice a change in the taste or odor of your water, it’s a good idea to replace the filter even if the indicator hasn’t signaled that it’s time yet.
When to Replace Your Brita Filter Indicator
Lifespan of Indicator
The Brita filter indicator is designed to monitor the lifespan of your Brita water filter. The lifespan of the indicator varies depending on the model of your Brita filter. However, the average lifespan of the Brita filter indicator is approximately 2 months or 40 gallons of water usage.
Signs of Replacement Need
It is important to replace your Brita filter indicator when it has reached the end of its lifespan. Failure to do so may result in the filter not working effectively, leading to impurities in your drinking water. There are several signs that indicate that it is time to replace your Brita filter indicator:
- The indicator light on your Brita pitcher or dispenser turns red: This is the most obvious sign that your Brita filter indicator needs to be replaced. The red light indicates that the filter has reached the end of its lifespan and needs to be replaced.
- The water tastes different: If you notice a change in the taste of your drinking water, it may be an indication that your Brita filter indicator needs to be replaced. This is because the filter is no longer working effectively and is allowing impurities to pass through.
- The water flow rate slows down: If the water flow rate from your Brita pitcher or dispenser slows down, it may be an indication that your filter needs to be replaced. This is because the filter is clogged with impurities and is no longer allowing water to flow through at a normal rate.
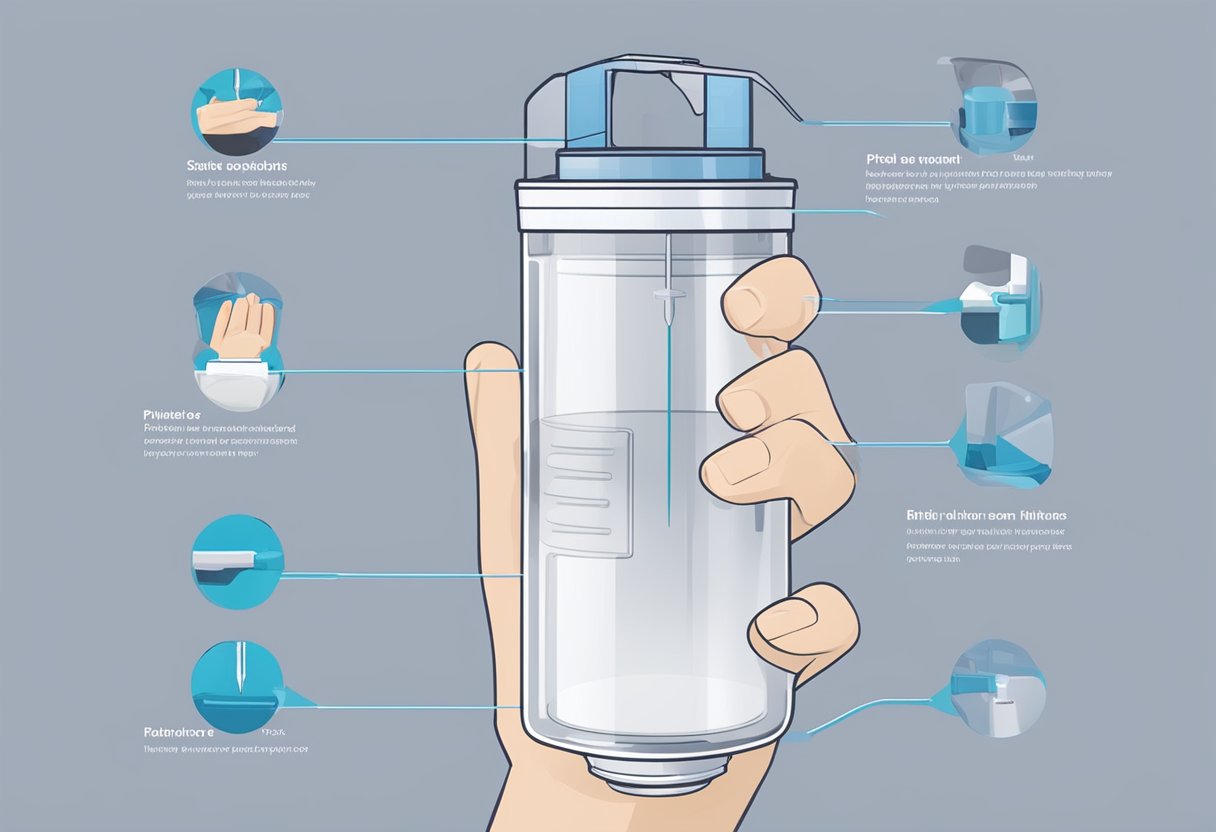
Preparing for Replacement
Tools and Materials Needed
Before replacing the Brita filter indicator, it is important to gather all the necessary tools and materials. Here are the tools and materials needed for the replacement:
- A new Brita filter indicator
- A clean bowl or container
- A soft cloth or paper towel
- A Phillips head screwdriver (if necessary)
It is recommended to use only Brita filter indicators that are compatible with your Brita water filtration system. Using filters that are not compatible may result in reduced filtration performance and may even damage your system.
Safety Precautions
When preparing for the replacement of a Brita filter indicator, it is important to observe some safety precautions. Here are some safety precautions to keep in mind:
- Turn off the water supply to your Brita water filtration system before starting the replacement process.
- Allow the system to depressurize before removing the old filter indicator.
- Avoid using excessive force when removing the old filter indicator to prevent damage to the filter housing.
- If necessary, use a Phillips head screwdriver to remove the old filter indicator. Be careful not to strip the screws.
- Dispose of the old filter indicator properly according to your local regulations.
Step-by-Step Replacement Guide
Brita filter indicators are designed to let you know when it’s time to replace your filter. Over time, the filter will become less effective at removing contaminants from your water, so it’s important to replace the filter on a regular basis. If your Brita filter indicator is flashing, it’s time to replace the filter. Here’s a step-by-step guide on how to replace your Brita filter indicator.
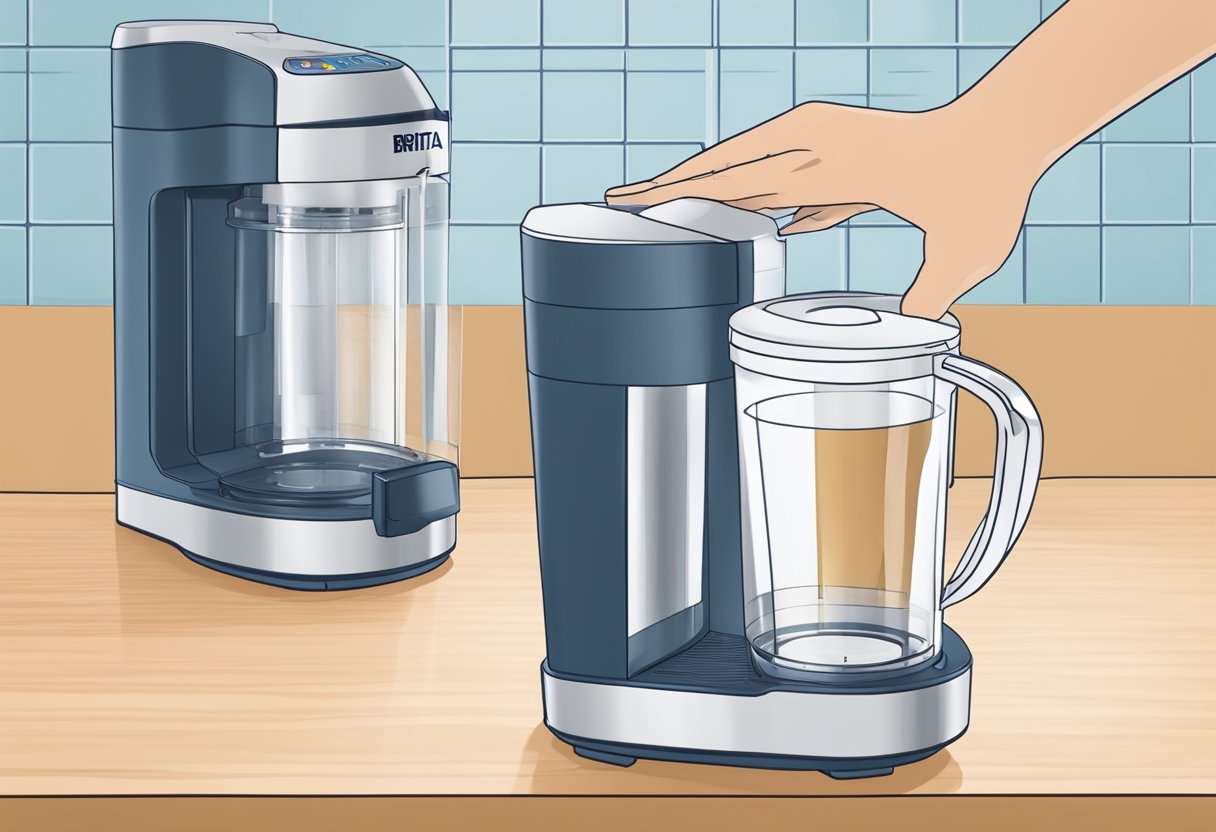
Removing the Old Indicator
- Locate the filter indicator on your Brita pitcher or dispenser. It’s usually located near the handle or on the top of the lid.
- Press down on the indicator button to release it from the lid.
- Pull the old indicator out of the lid.
Installing the New Indicator
- Remove the new indicator from its packaging.
- Insert the new indicator into the slot on the lid where the old indicator was located.
- Press down on the new indicator until it clicks into place.
- Hold down the reset button on the indicator for 5-10 seconds until the light turns green.
It’s important to note that the Brita filter indicator is designed to work with Brita filters only. If you use a filter from another brand, the indicator may not work properly. Additionally, the filter indicator is not a replacement for regular filter replacements. It’s still important to replace your Brita filter every 40 gallons or 2 months, whichever comes first, even if the indicator has not yet turned red.
Troubleshooting Common Issues
Indicator Not Resetting
If the Brita filter indicator is not resetting, it may be due to a few reasons. First, make sure that the filter has been replaced and installed correctly. If the filter is not installed correctly, the indicator will not reset.
Another reason why the indicator may not be resetting is due to a malfunctioning indicator. In this case, it is recommended to contact Brita customer service for assistance.
Indicator Not Lighting Up
If the Brita filter indicator is not lighting up, it may be due to a few reasons. First, make sure that the filter is properly installed and the lid is securely closed. If the lid is not closed properly, the indicator will not light up.
Another reason why the indicator may not be lighting up is due to a dead battery. The indicator is powered by a battery that needs to be replaced periodically. Refer to the Brita filter indicator replacement guide for instructions on how to replace the battery.
If the indicator is still not lighting up after checking these issues, it may be due to a malfunctioning indicator. In this case, it is recommended to contact Brita customer service for assistance.
Maintenance Tips for Brita Filter Indicator
Regular Cleaning
To keep the Brita filter indicator functioning properly, it is important to clean it regularly. The indicator should be wiped down with a damp cloth to remove any dirt or debris that may have accumulated on the surface. It is important to avoid using any harsh chemicals or abrasive materials when cleaning the indicator, as this can damage the surface.
Battery Care
The Brita filter indicator is powered by a small battery that should last for several months. To ensure that the battery lasts as long as possible, it is important to take proper care of it. The indicator should be turned off when not in use to conserve battery life. If the battery does need to be replaced, it is important to use a high-quality replacement battery to ensure that the indicator continues to function properly.
Overall, proper maintenance of the Brita filter indicator is essential to ensure that it continues to function properly and provide accurate readings. By following these simple tips, users can ensure that their Brita filter indicator lasts for years to come.

Hey there, folks! I’m Sakib, the guy who runs waterfilterhub.com. I’ve had a passion for pure water since I was a kid. I’ve always known that staying hydrated is crucial, but I also understood that the quality of the water matters just as much as how much you drink. So, I decided to embark on a mission to uncover the secrets of water filtration.